How to self-host and deploy Piwik using Docker with https support
This is a very quick and easy to follow guide about how to self-host and deploy your own Piwik instance using Docker with support for https. I recommend using CoreOS to run your Docker containers, but any OS that is capable of running Docker should work.
In this guide you will:
- Install Docker Compose (which is not installed by default on CoreOS).
- Download Piwik and get it ready.
- Prepare your containers.
- Run your Docker containers.
What you need before continuing:
- A CoreOS instance.
You do not need a powerful server. I am running Piwik on a 512mb VM on Vultr.
You can also use any other OS running Docker, and the process should be similar.
To run Piwik I use:
- CoreOS (you knew that already).
- Docker (you also knew that already).
- MariaDB as the DB backend.
- Caddy as the web server.
Deploying Piwik
- Connect to your CoreOS instance via ssh
- I connect as core user, which is the default non-root user for CoreOS.
ssh core@1.2.3.4
- I connect as core user, which is the default non-root user for CoreOS.
- Install Docker Compose.
- CoreOS does not have Docker Compose installed by default, but getting it is easy
sudo mkdir -p /opt/bin sudo curl -L https://github.com/docker/compose/releases/download/1.17.0/docker-compose-`uname -s`-`uname -m` -o /opt/bin/docker-compose sudo chmod +x /opt/bin/docker-compose - Check the version you are downloading, at the time of writing 1.17.0 was the latest one, but it will change.
- CoreOS does not have Docker Compose installed by default, but getting it is easy
- Download Piwik and get it ready.
- This will put the latest version of Piwik in
/srv/pwk. I usepwkinstead ofpiwikas the directory name so that I don't accidentally override or extract something on top of it.cd /srv sudo wget https://builds.piwik.org/piwik.zip sudo unzip piwik.zip -d /srv sudo mv /srv/piwik /srv/pwk - PHP runs as user 82 inside the Docker container, so we make user 82 the owner of the
pwkfiles.sudo chown -R 82:82 /srv/pwk/
- This will put the latest version of Piwik in
- Prepare your containers.
- Copy my piwik-docker repo, where I have a docker-compose file ready to be used.
cd /srv sudo wget -O piwik-docker-master.zip https://github.com/jmfederico/piwik-docker/archive/master.zip sudo unzip piwik-docker-master.zip -d /srv sudo mv /srv/piwik-docker-master /srv/Docker sudo rm piwik-docker-master.zip - Duplicate and edit the
.envfiles with the necessary environmental variables.sudo cp /srv/Docker/caddy/.env.example /srv/Docker/caddy/.env sudo cp /srv/Docker/mariadb/.env.example /srv/Docker/mariadb/.env- The Caddy container needs two environmental variables to run, the domain from which you will serve Piwik, and an email to associate to the SSL certificate it will get for you from Let's Encrypt.
# /srv/Docker/caddy/.env DOMAIN=pwk.yourdomain.com LETSENCRYPT_EMAIL=irunpiwik@domain.com - The MariaDB container needs four environmental variables.
# /srv/Docker/mariadb/.env
MYSQL_DATABASE=piwik
MYSQL_USER=username
MYSQL_PASSWORD=a-very-secure-password
MYSQL_ROOT_PASSWORD=another-very-secure-password
- The Caddy container needs two environmental variables to run, the domain from which you will serve Piwik, and an email to associate to the SSL certificate it will get for you from Let's Encrypt.
- Copy my piwik-docker repo, where I have a docker-compose file ready to be used.
- Run your Docker containers.
- Everything is now ready for Piwik to run. The following commands will build and start all the Docker containers and will make sure they are always running. Your instances will be automatically started after a reboot.
cd /srv/Docker
docker-compose build
docker-compose up -d
- Everything is now ready for Piwik to run. The following commands will build and start all the Docker containers and will make sure they are always running. Your instances will be automatically started after a reboot.
You should now be able to access and install your own instance of Piwik via your domain (the one you set on /srv/Docker/caddy/.env).
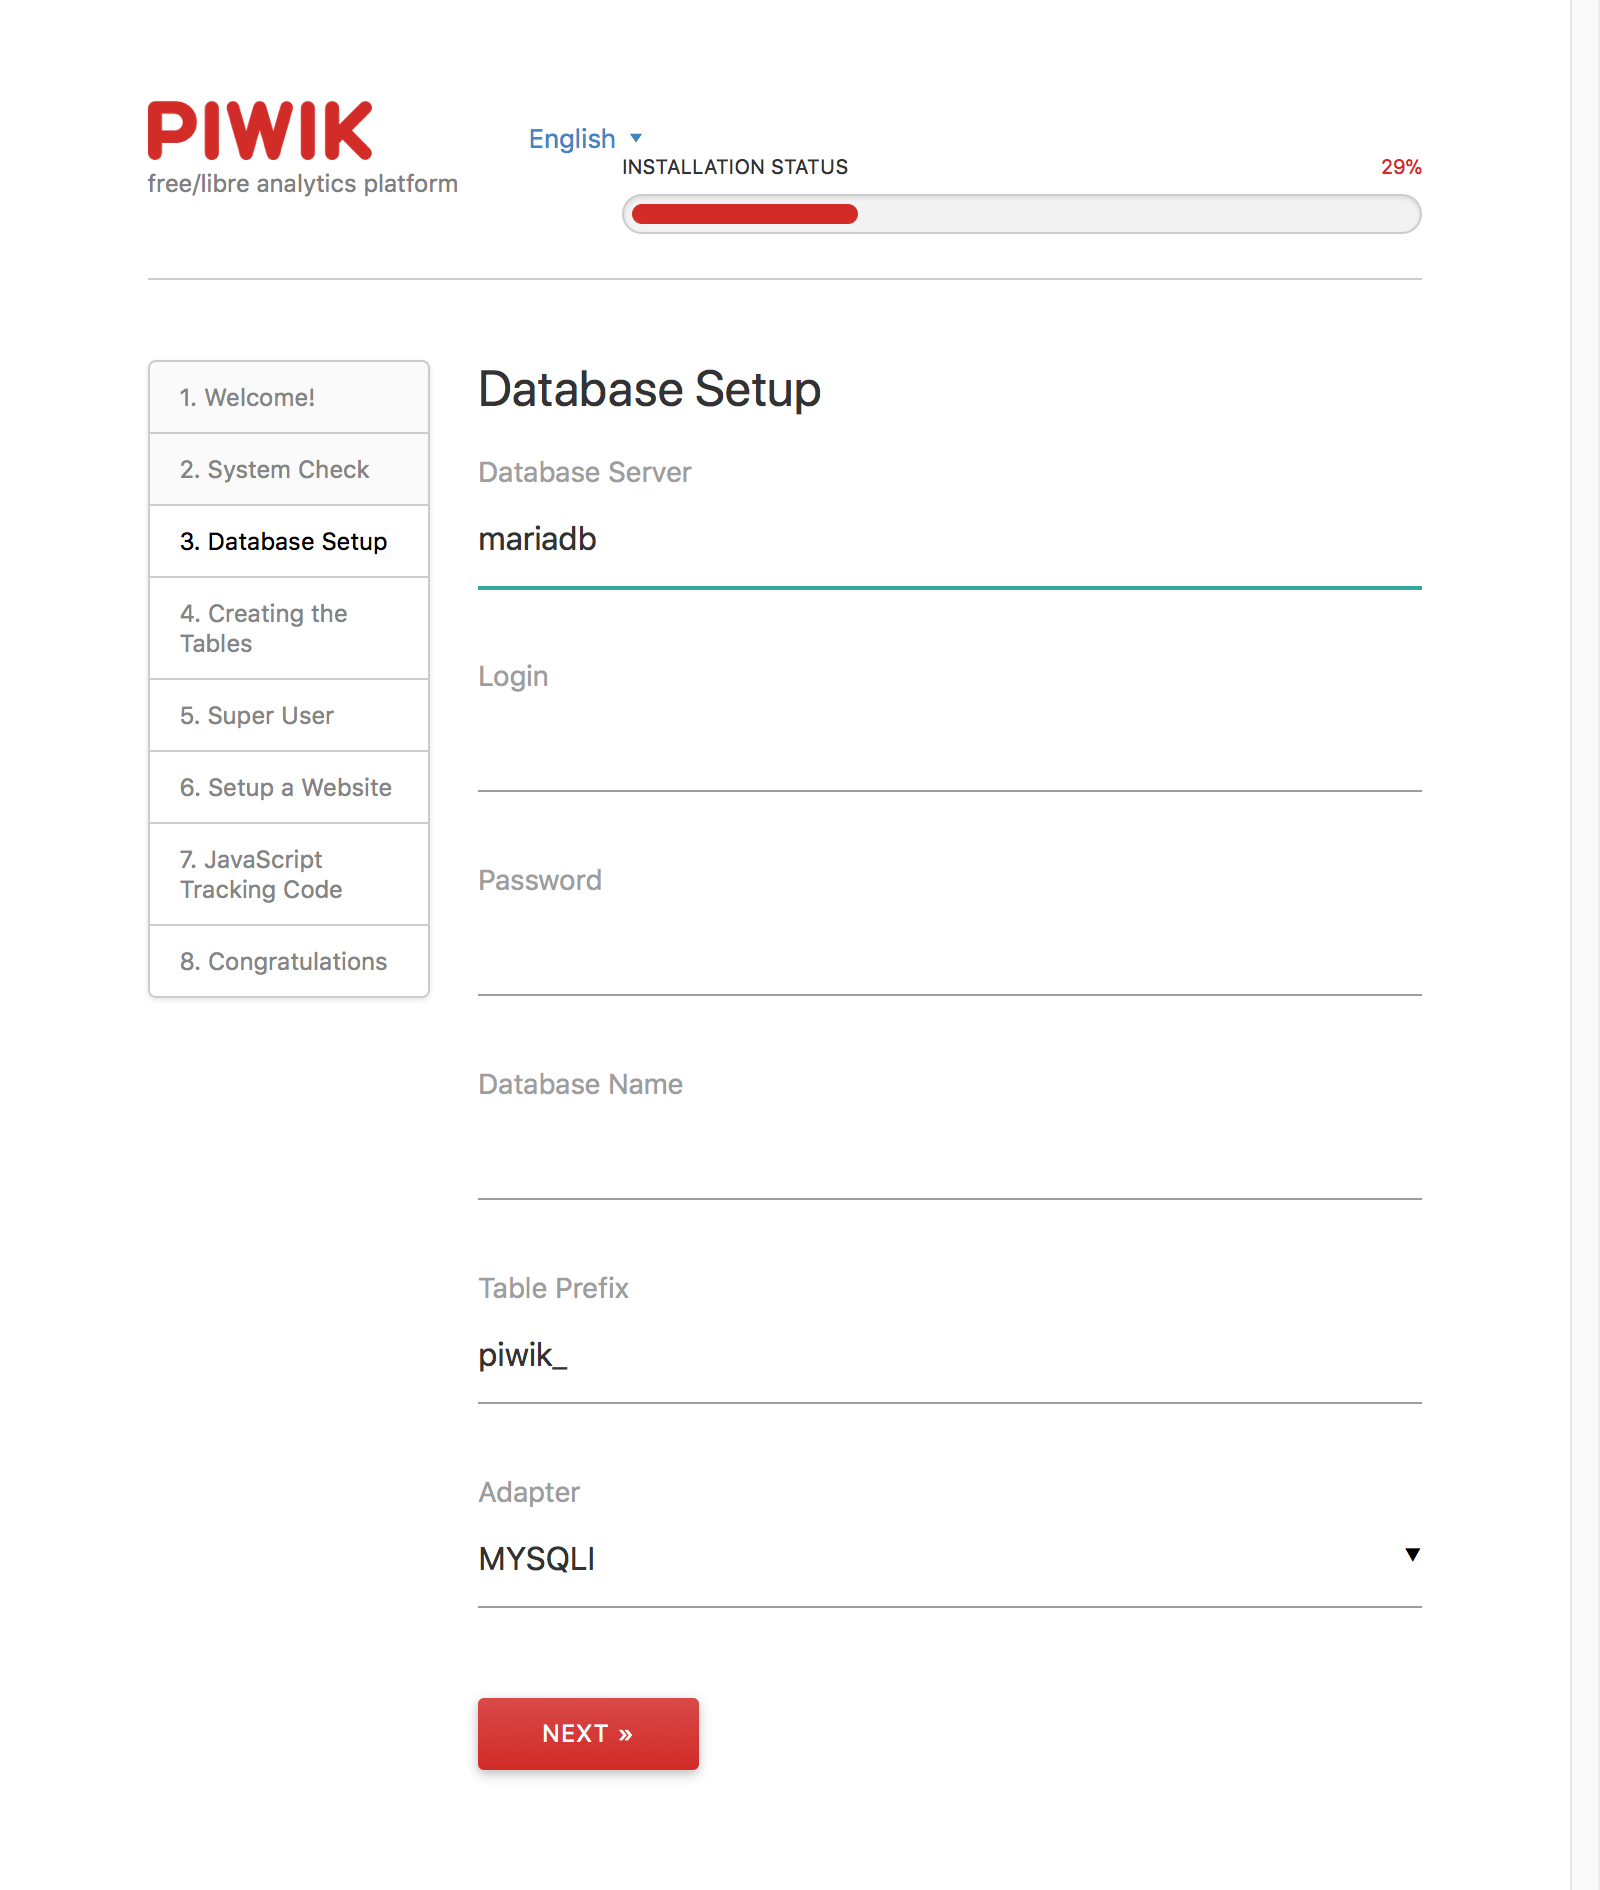
Database connection
When installing Piwik you will be prompted for your database connection information, make sure you use mariadb as your "Database Server".
Logs
If you are experiencing any troubles, you can check the logs for each of the docker instances by running any of the following commands:
# Caddy logs
docker logs -f docker_caddy_1

# PHP (Piwik) logs
docker logs -f docker_php-fpm_1

# MariaDB logs
docker logs -f docker_mariadb_1
Storage
All your Piwik data is located within /srv with the following structure:
/srv/caddy: Caddy configuration for SSL certificates./srv/pwk: Piwik itself, with its configuration files./srv/mariadb: MariaDB data and configuration files.
The most important folder of all is /srv/mariadb/datadir, so keep regular backups of that (you've been warned!).
The second most important folder is /srv/pwk, especially if you've installed plugins or made changes to the Piwik config files.
Installation and usage
Piwik installation is simple, and they have a reasonably good installation guide.
I hope you enjoy using Piwik. If you have any problems with the deployment, let me know.
Comments