How to deploy Django applications to AWS Lambda
You want to deploy and run your Django application in AWS Lambdas. If you follow this tutorial you will be able to launch Django applications in AWS in minutes.
The hardest part of using AWS is orchestrating all the different resources that you need: roles, databases, vpc, http-api, databases, functions, domains, certificates, s3 buckets, permissions, and more; but there are tools to make this process simple, and I will show you how make this really easy with Python Deploy.
In this tutorial I will show you how to:
- Create a Python Deploy account.
- Configure a Python Deploy Django application.
- Deploy the Django application to AWS Lambda using Python Deploy.
- Make you own Django application compatible with AWS Lambda.
This tutorial uses https://github.com/jmfederico/demo-app-django/ as an example application, you can use your own app from the beginning but I recommend you to use the demo one first, it is a small Django app and you will be able to see how easy the deployment process is, you can then to take the parts you need from it and use them in your app to make it compatible with Lambda.
Create a Python Deploy account
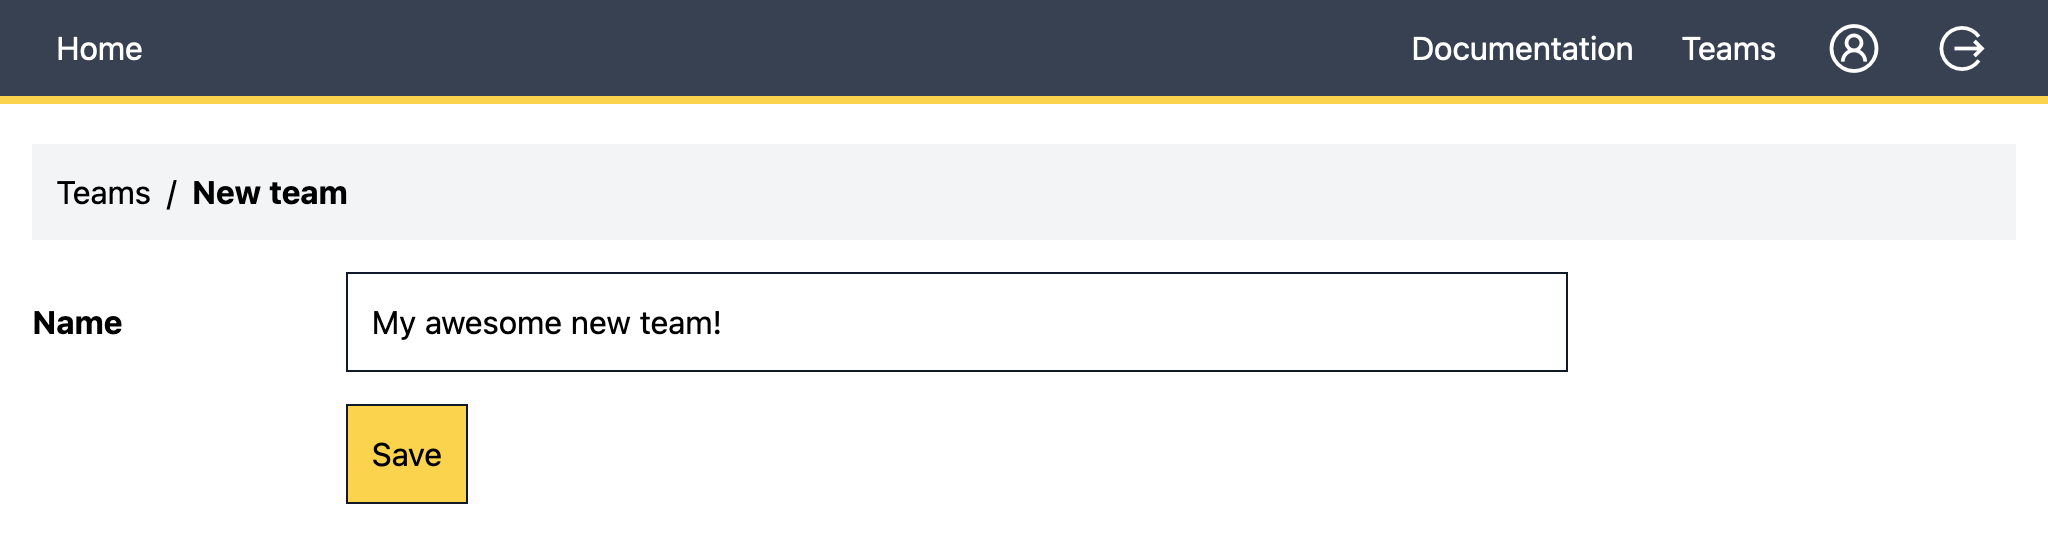
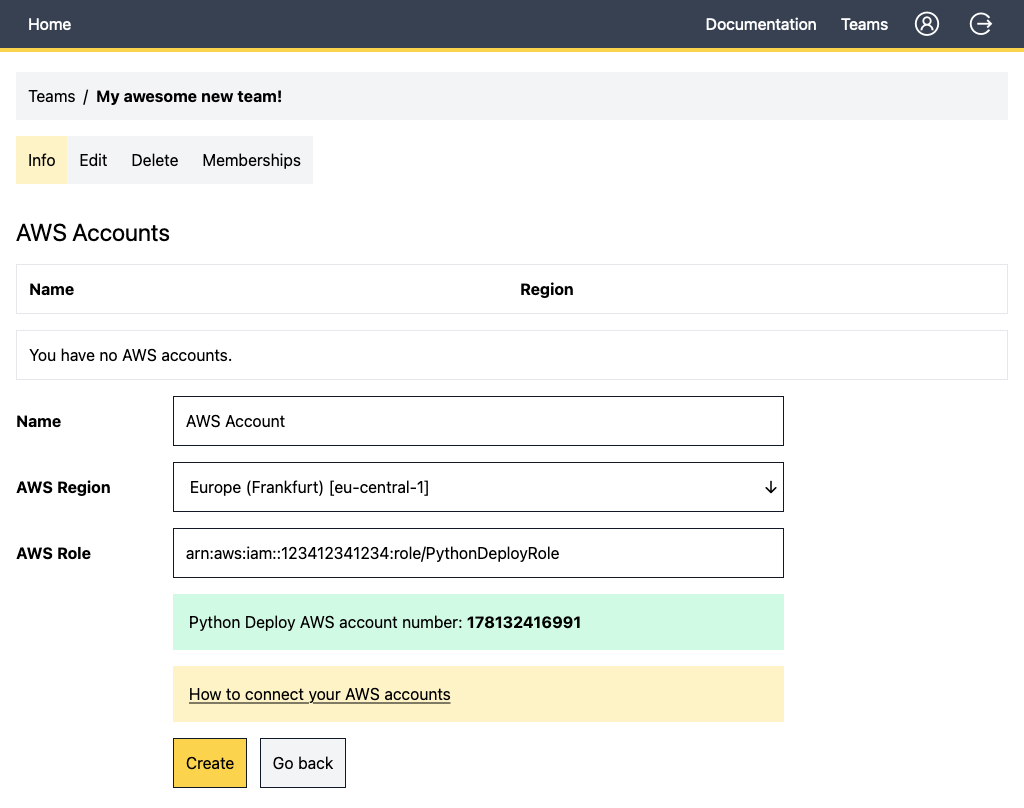
You need an Amazon account linked to a Python Deploy account. First create an account with Python Deploy, create a team, and follow the instruction on how to link your AWS account to your new Python Deploy account.
Name your team anything you want, this can later be changed, no pressure there.
Configure a Python Deploy Django application
Once you have your both accounts connected (AWS and Python Deploy) it is time to configure a Django application in Python Deploy. Add a new application from Python Deploy, and configure the following environment variables:
PD_SQS_HANDLER=pd_django_demo.sqs.sqs_event_handler
PD_WSGI_APPLICATION=pd_django_demo.wsgi.application
DJANGO_ALLOWED_HOSTS=*
# You can generate a secret key in https://djecrety.ir/
DJANGO_SECRET_KEY=
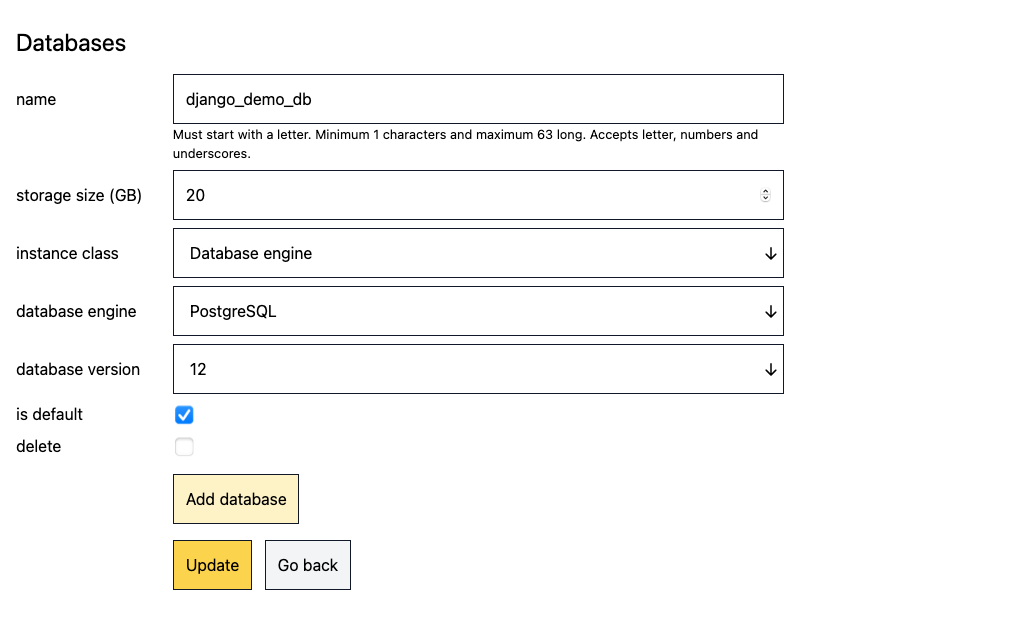
You will also need a database. Go ahead and configure a new db. The smallest Postgres instance is enough for the demo.
You are now ready to push the changes to AWS. PythonDeploy does not pushes changes automatically. It lets you configure your environment and push the changes when you need to.
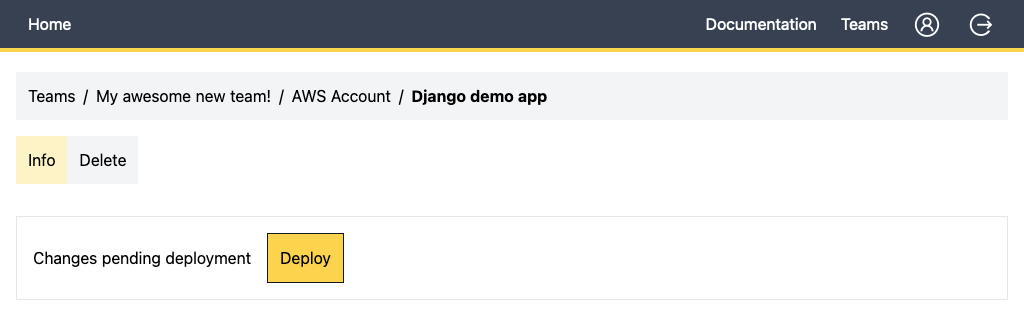
Creating a database is a slow process in AWS so this initial push will take some time. Making changes to code or environment variables is a faster process (almost immediate).
Deploy the Django application to AWS Lambda using Python Deploy
It is now time to push the application code to AWS. The demo app includes scripts to do this in 3 different ways:
- From your local environment using Docker (This tutorial uses this method)
- With GitHub actions
- With GitLab CI/CD runners
The reason to use Docker is that the dependencies need to be built against the same environment that they will be run in AWS Lambda.
-
Clone the demo app to your computer:
git clone https://github.com/jmfederico/demo-app-django.git cd demo-app-django -
Copy the dot-env example file:
cp .pd/.env.example .pd/.env -
Open the new
.pd/.envfile and add the missing environment variables. Your PD_API_KEY can be found in your Python Deploy user's profile, and the PD_APP_ID can be found in the dashboard of your application.PD_APP_ID=00000000-aaaa-0000-aaaa-0000aaaa0000 PD_API_KEY=****************************** -
Run the following script from the root of your application to build and deploy your app:
./.pd/build_deploy.sh -
Done! You can now visit your application. You will find the URL in the application's dashboard.
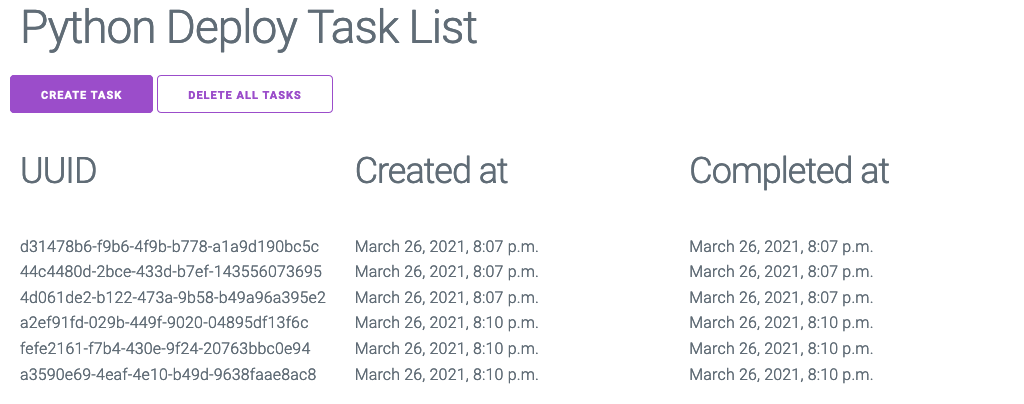
Python Deploy demo app
The demo app allows you to create task entries (using the "Create task" button), and they will get auto-completed by SQS after 10 seconds. It is meant to be a very simple example for:
- How to connect to a Database
- How to respond to http requests
- How to run shell commands in your apps (in this case the migrations)
- How to create SQS messages
- How to process SQS events (form the sent messages)
Make you own Django application compatible with AWS Lambda
There are two main entry points to your app when running on AWS Lambda:
- HTTP requests
- SQS messages
In order for Django to know how to handle them you need to first tell Lambda which functions to call when an HTTP request or a message is received, and you need to convert the input you get from AWS to something Django understands.
In the case of HTTP requests they need to be converted into WSGI compatible requests. WSGI is a python standard (PEP-3333) for how python applications should communicate with web servers, and then the Django response needs to be converted to something AWS understands. For SQS messages the trick is to run your handler within the context of a Django app (initialize Django before processing the message).
Django and HTTP requests in AWS LAMBDA
HTTP requests can be converted to WSGI ones by using the pd-aws-lambda package, it has a special handler for that case, and you then use PD_WSGI_APPLICATION to define your Django WSGI application.
pd-aws-lambda takes care of converting the Lambda request to WSGI a compatible one, and to convert the WSGI response back to something AWS know how to use and serve back.
Django and SQS messages in AWS LAMBDA
For the case of SQS messages you need to initialize Django before the handler that will process the SQS event/message is invoked, in fact you need to initialize Django before you import models, views, or anything that depends on Django settings. You use PD_SQS_HANDLER to point to the generated handler.
The following is an example that initializes Django and then exposes the handler that AWS will invoke:
# file: your_app/sqs.py
# PD_SQS_HANDLER=your_app.sqs.sqs_event_handler

import os

import django

os.environ.setdefault("DJANGO_SETTINGS_MODULE", "your_app.settings")
django.setup(set_prefix=False)


def get_sqs_event_handler():
    from your_app.helpers import custom_sqs_event_handler

    return custom_sqs_event_handler


sqs_event_handler = get_sqs_event_handler()
This example was taken from the demo app: https://github.com/jmfederico/demo-app-django/blob/main/pd_django_demo/sqs.py.
What you do in inside your handler is completely up to you and the message you send/receive. If your function does not fail AWS will take that as a successfully processed message.
Did you find this useful? Comments and questions are more than welcome!
Comments