How to create a Drupal 8 project for Heroku (Part 1)
Drupal is a great CMS, but it has been slow in adopting easy cloud deployment. One of the most cumbersome steps on deploying to Heroku, or any other PaaS, is managing file storage. This is also true for clustered deployments, where your files are not and can't always be stored in every server that runs your code.
Most modern frameworks (think: Django, Laravel), come with easy to implement cloud file storage solutions, and I envy that, but fear not, because in Drupal we can do it too.
In this guide we will:
- # Create a new Drupal 8 project with composer
- # Setup our cloud file system module (Flysystem)
- # Get your site ready for Heroku
- Deploy to Heroku (see part 2)
Things you need that are not covered in this guide:
- A database for your Drupal dev site (I use PostgreSQL, but MySQL works well too)
- PHP installed locally (version 7.x recommended)
- Composer installed in your system
- An Amazon S3 bucket
- An Amazon S3 user with read/write permissions for that bucket (see special bonus)
Create a new Drupal 8 project with composer 
Download Drupal
I use drupal-composer/drupal-project for my new projects. It makes life easier by setting some things up for you. To create a new project, open a new terminal window and type:
cd my/projects/parent/folder
composer create-project drupal-composer/drupal-project:8.x-dev DRUPAL-PROJECT-NAME --stability dev --no-interaction
cd DRUPAL-PROJECT-NAME
You should now have a new Drupal 8 project, with all dependencies downloaded, and you should be at your project's root. From now on, any command I type will be relative to your project's root.
Install Drupal
Now that we have all the files we need, we are going to start our PHP development server, and go through the normal Drupal install process. Type the following in your terminal:
php -S 127.0.0.1:8888 -t web

# PHP 7.1.2 Development Server started at Mon Mar 13 19:05:30 2017
# Listening on http://127.0.0.1:8888
# Document root is /foo/bar/drupal-on-heroku/web
# Press Ctrl-C to quit.
Notice the "-t web" part at the end. One of the benefits of using drupal-composer/drupal-project is having Drupal as a sub-folder of your project, this way you can add extra files, like editor configuration files, without polluting the Drupal Core.
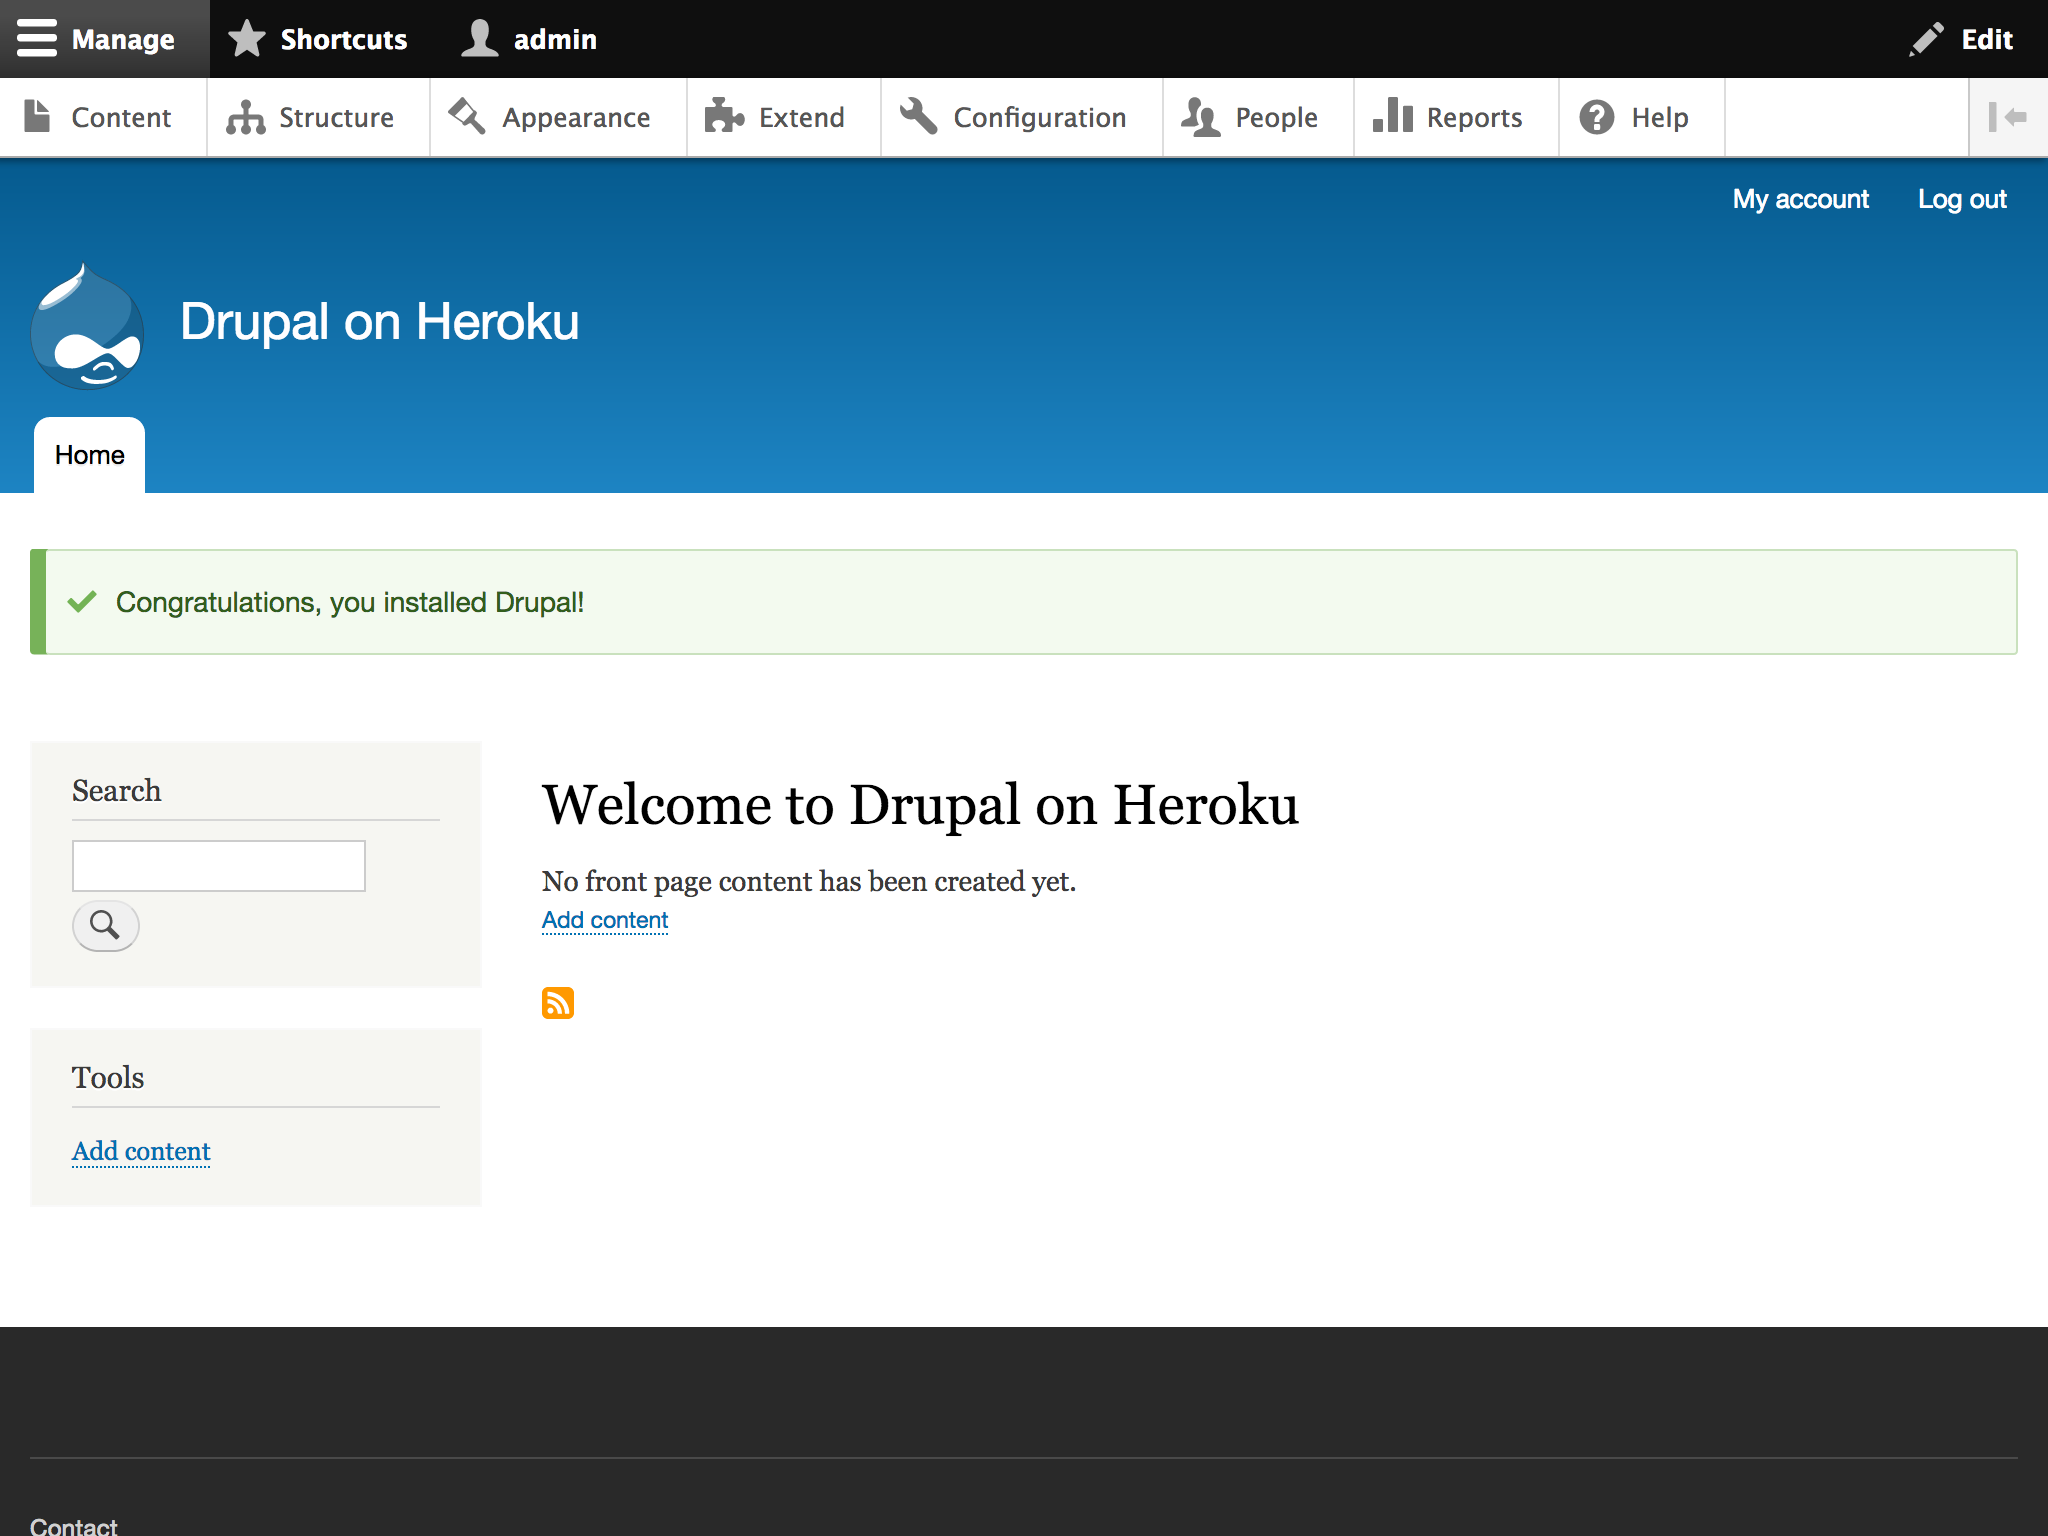
Now open your favorite browser and navigate to http://localhost:8888. Follow the on screen instructions and come back once you have your site running.
Now that you have installed your site, I recommend switching from pure PHP development server, to using Drush development server. In the window where your PHP server is running do:
# This is to cancel the current php process.
# ctrl + c

vendor/bin/drush -r `pwd`/web rs

# HTTP server listening on 127.0.0.1, port 8888 (see http://127.0.0.1:8888/), serving site default, logged in as admin...
# PHP 7.1.2 Development Server started at Mon Mar 13 19:38:21 2017
# Listening on http://127.0.0.1:8888
# Document root is /foo/bar/drupal-on-heroku/web
# Press Ctrl-C to quit.
Good, now we can get ready to setup our cloud file system.
Setup our cloud file system module (Flysystem) 
To be honest, I think Drupal still lags way behind in this area, Flysystem is an incredibly powerful library, but at the time of writing, not all providers are available in Drupal, and not all the ones that are available work as they should. But the one we are using, which is Amazon S3 works fine.
Download and enable the Flysystem S3 modules by executing the following commands on your terminal:
composer require drupal/flysystem_s3
vendor/bin/drush -r `pwd`/web en -y flysystem_s3
Once enabled, we need to configure our S3 endpoints. This is done in your site's settings file. Launch your favorite editor (I use Atom) and open your settings.php file. Here is a quick command to do so from the terminal:
atom `pwd`/web/sites/default/settings.php
Add the following lines to the end of your file, updating the square brackets with your own values (remove square brackets), and save:
$schemes = [
  's3' => [
    'driver' => 's3',
    'config' => [
      'key'    => '[your key]',
      'secret' => '[your secret]',
      'region' => '[aws-region-id]',
      'bucket' => '[bucket-name]',
      'prefix' => '[sub-folder]', // Highly recommended, to keep things clean.
    ],
    'cache' => TRUE,
  ],
];
$settings['flysystem'] = $schemes;
Your editor should ask you for your password. Drupal by default makes your settings.php read-only, which is a good thing for production environments, but on your local machine, it is ok to write directly on it. If you are not being able to save your changes, use this command, and try again:
chmod u+w `pwd`/web/sites/default/settings*
Once you save your file, go to the File system settings page and change the Default download method to use Flysystem: s3:
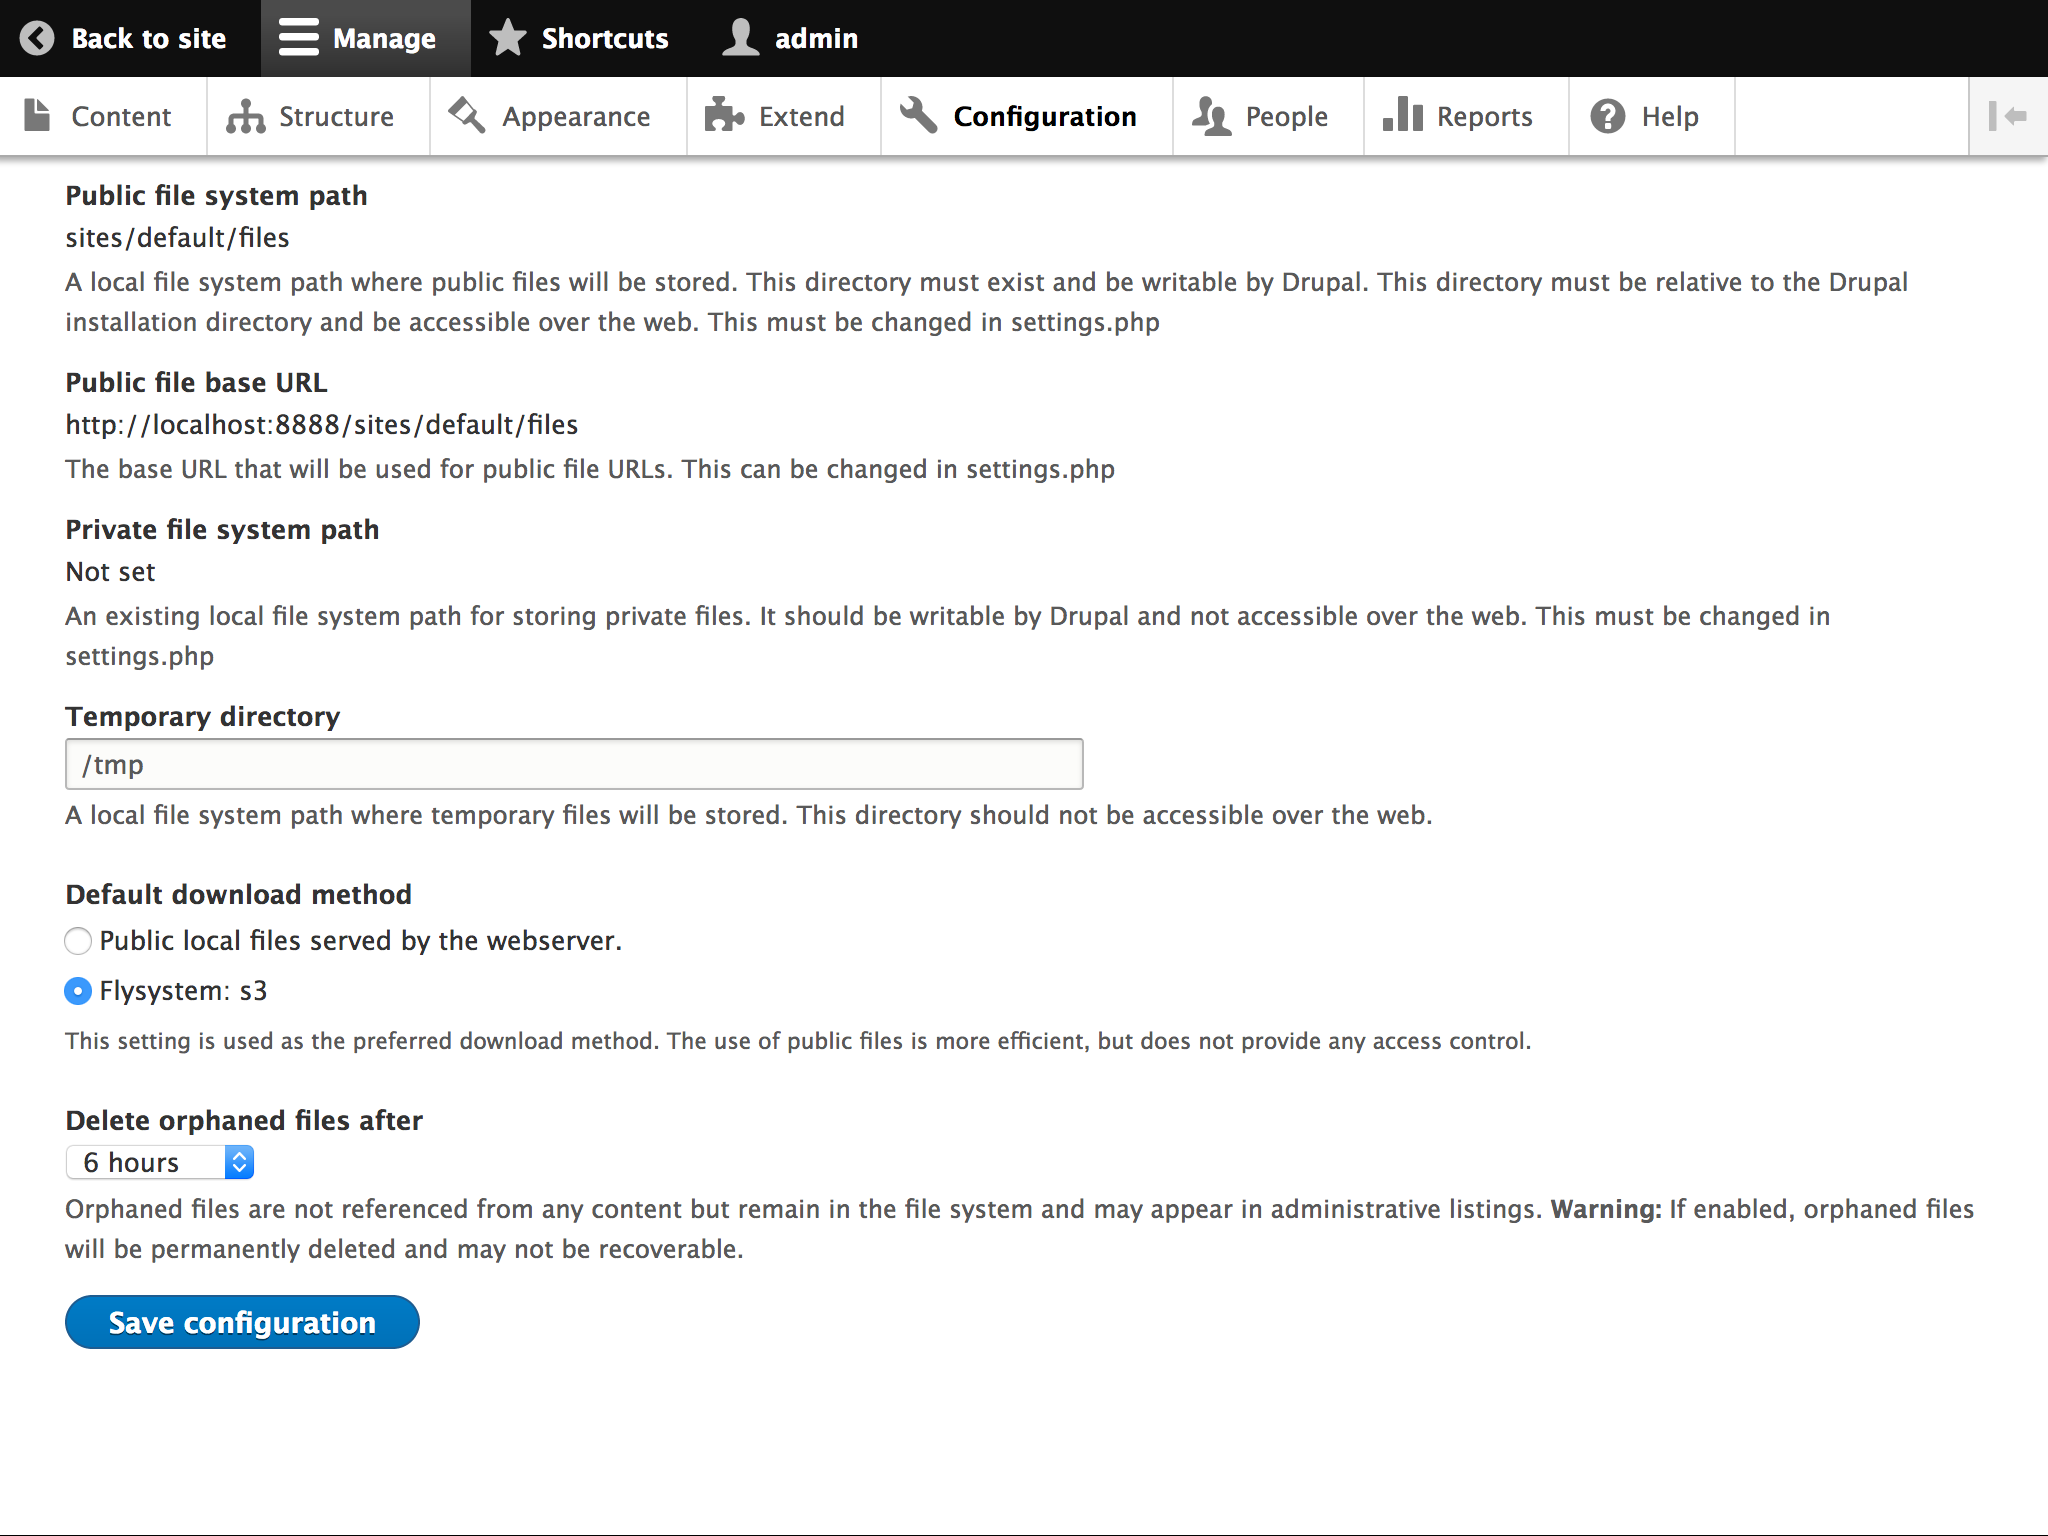
On a default Drupal install, there should be two fields using the local filesystem. Those fields need to be updated to use Amazon S3:
- Image field on Article content type (Structure > Content types > Article > Manage fields > Image)
- Image field for User profile picture (Configuration > People > Account settings > Manage fields > Picture)

To test that it works, go edit your user profile, add a profile picture, click on the picture link, a new popup should open, and the URL should be from Amazon S3.
Get your site ready for Heroku 
So far we have a Drupal site, which stores our uploaded files to Amazon S3, but we had to manually edit our settings.php file to make it work, and we will not be able to do that in Heroku. When deploying a site to Heroku, or any other PaaS, it is a terrible idea to have credentials directly on your files. The solution is to pass our settings via environmental variables.
We are going to:
- create a new settings.local.php from which we will set, as its name implies, our local settings.
- modify our settings.php to read settings form environmental variables, and load settings.local.php.
- remove setting.php from the .gitignore list.
Create a new settings.local.php file. If using atom execute the following command in your terminal:
atom `pwd`/web/sites/default/settings.local.php
Make sure the file lives next to settings.php. Populate yours as follows, replacing values as appropriate.
<?php

putenv('DATABASE_URL=postgres://DB_USER:DB_PASS@127.0.0.1:5432/DB_NAME');
// putenv('DATABASE_URL=mysql://DB_USER:DB_PASS@127.0.0.1/DB_NAME');
putenv('HASH_SALT=SOME_RANDOM_LONG_STRING_WITH_NUMBERS_0987654321_AND_SPECIAL_CHARACTERS_-+');

putenv('FLYSYSTEM_S3_KEY=YOUR_S3_KEY');
putenv('FLYSYSTEM_S3_SECRET=YOUR_S3_SECRET');
putenv('FLYSYSTEM_S3_REGION=YOUR_S3_REGION');
putenv('FLYSYSTEM_S3_BUCKET=YOUR_S3_BUCKET');
putenv('FLYSYSTEM_S3_PREFIX=YOUR_S3_SUB_FOLDER'); // Highly recommended, to keep things clean.
Now, modify your settings.php file to:
- load the settings.local.php file,
- move configuration sync directory outside the webroot,
- read settings from environmental variables,
- set data cache bin to use PHP cache backend.
Open the file, and make sure it ends like this:
// Load settings.local.php if it exists.
// Settings should ideally be set here with putenv(), and read with getenv().
// Use settings.local.php to set values to those environmental variables.
if (file_exists($app_root . '/' . $site_path . '/settings.local.php')) {
  include $app_root . '/' . $site_path . '/settings.local.php';
}

// install_profile might be different.
$settings['install_profile'] = 'standard';
$config_directories['sync'] = '../config/sync';
$settings['hash_salt'] = getenv('HASH_SALT');

// Read DB settings.
$dbopts = parse_url(getenv('DATABASE_URL'));
$databases['default']['default'] = array(
  'database' => ltrim($dbopts['path'], '/'),
  'username' => $dbopts['user'],
  'password' => $dbopts['pass'],
  'prefix' => '',
  'host' => $dbopts['host'],
  'port' => $dbopts['port'],
  'namespace' => 'Drupal\\Core\\Database\\Driver\\pgsql',
  'driver' => $dbopts['scheme'] === 'postgres' ? 'pgsql' : 'mysql',
);

// Set Flysystem S3 endpoint.
$schemes = [
  's3' => [
    'driver' => 's3',
    'config' => [
      'key'    => getenv('FLYSYSTEM_S3_KEY'),
      'secret' => getenv('FLYSYSTEM_S3_SECRET'),
      'region' => getenv('FLYSYSTEM_S3_REGION'),
      'bucket' => getenv('FLYSYSTEM_S3_BUCKET'),
      'prefix' => getenv('FLYSYSTEM_S3_PREFIX'),
    ],
    'cache' => TRUE,
  ],
];
$settings['flysystem'] = $schemes;

// CSS and JS aggregation need per dyno cache.
$settings['cache']['bins']['data'] = 'cache.backend.php';
Since we set the configuration sync directory outside the webroot, we have to create it and make sure git includes it, even when empty.
mkdir -p config/sync
touch config/sync/.gitkeep
The reason why the data cache bin is set to use PHP cache backend is that CSS and JS aggregation is executed on the fly the first time a page is visited. Drupal then saves the files to the ephemeral storage of the dyno that processed the request and keeps a registry of which files have already been created on the data cache bin. The next time a new dyno is started, or an old one restarted, it won't have those files on its filesystem, but if it uses a global cache like the database backend, it will think the files are there, and that, my friend, will cause 404 errors for all your aggregated files. By moving it to a per dyno cache, each dyno will know if it has the files or not, and will recreate them as needed.
In the same settings.php file, search and replace as follow:
# Search for:
$settings['hash_salt'] = 'SOME_RANDOM_LONG_STRING';

# Replace with (it is commented now):
# $settings['hash_salt'] = '';
We are almost ready. All we need to do now is open .gitignore (which should be at the root of your project) and remove the line that ignores our settings.php. Mine ended up like this:
# Ignore directories generated by Composer
/drush/contrib/
/vendor/
/web/core/
/web/modules/contrib/
/web/themes/contrib/
/web/profiles/contrib/
/web/libraries/

# Ignore sensitive information
/web/sites/*/settings.local.php

# Ignore Drupal's file directory
/web/sites/*/files/

# Ignore SimpleTest multi-site environment.
/web/sites/simpletest

# Ignore files generated by PhpStorm
/.idea/
That's it, we have a Drupal project ready for Heroku.
I will cover the actual deployment on the second part of this tutorial.
Bonus: Amazon S3 access policy 
I remember the hardest part for me when creating the S3 Bucket and the user credentials, was settings the access policy. This one will give whatever user you assign the policy, permission to:
- List all your buckets
- Read and write access to every object from the bucket you specify
{
    "Version": "2012-10-17",
    "Statement": [
        {
            "Effect": "Allow",
            "Action": [
                "s3:GetBucketLocation",
                "s3:ListAllMyBuckets"
            ],
            "Resource": "arn:aws:s3:::*"
        },
        {
            "Effect": "Allow",
            "Action": [
                "s3:PutObjectAcl",
                "s3:DeleteObject",
                "s3:GetObject",
                "s3:PutObject"
            ],
            "Resource": [
                "arn:aws:s3:::THE-BUCKET/*"
            ]
        },
        {
            "Effect": "Allow",
            "Action": [
                "s3:ListBucket"
            ],
            "Resource": [
                "arn:aws:s3:::THE-BUCKET"
            ]
        }
    ]
}
I hope it is useful.
Comments